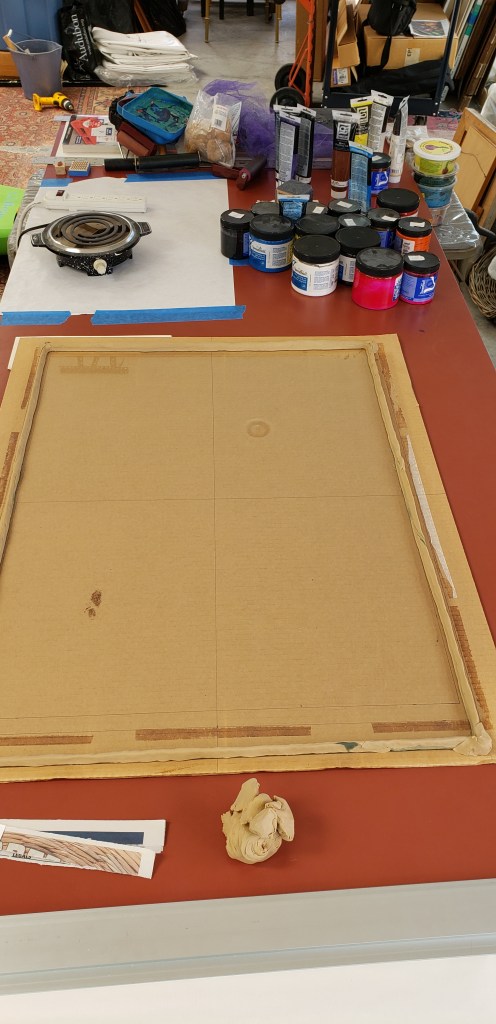
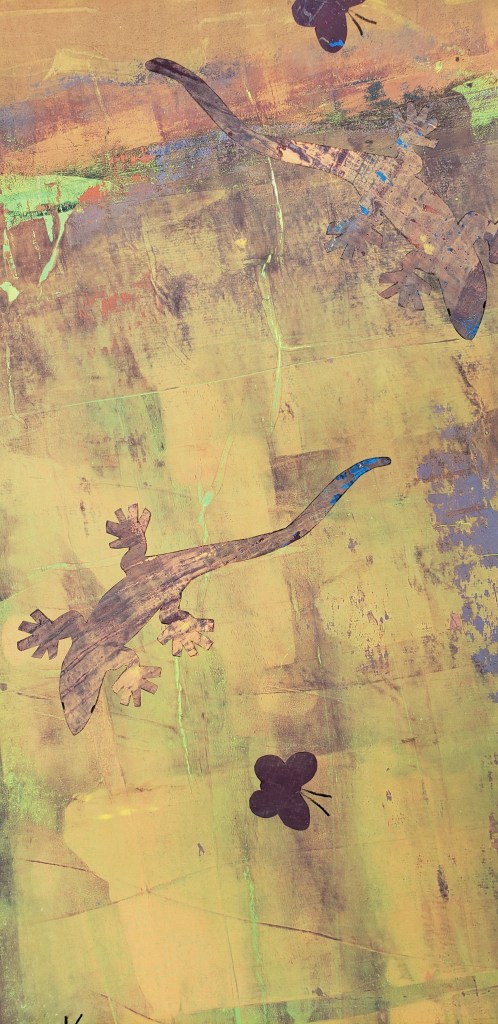
The beginning of any new printing session always begins with cutting the paper. This is a Beijie paper from Golden Panda. I have a roll of 10 sheets that measure 33 X 60 inches. I’m going to cut them to 24 X 33 which is relatively close to what my gelatin sheet will be.On a sheet of glass, I’ve pressed coils of oil clay to mark the edges of the gelatin sheet. When all the clay is secure and the edges reinforced, I cook up the gelatin and pour it into the mold.When the gelatin is set, I remove the oil clay and clean up the edges. Ready to roll on some ink and begin pulling prints. My papers are to my right and my color pallet is to my left.This is the back of my paper on the inked sheet of gelatin, ready to be pulled off. When dry I can pull repeated prints on the same sheet, building up layers of color.This is a detail of one of the “lizard and moth” series I am currently working on. It is a gelatin monotype collage.
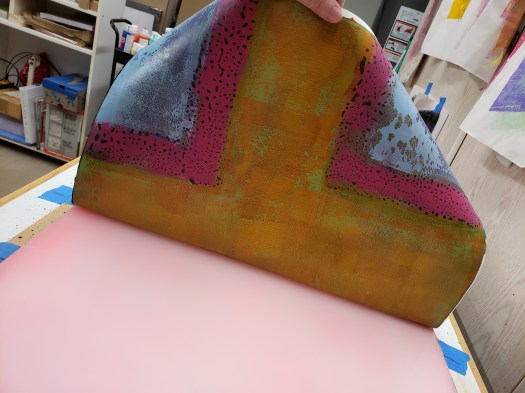
Pulling an image from a silicone sheet
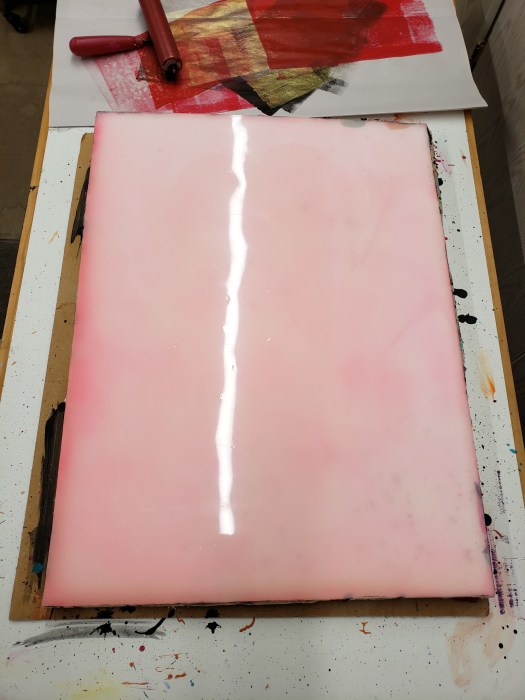
For my most recent body of work, I’ve been using using a silicone sheet which I made 18 X 24 inches. Using a brayer and texture plates, I apply layers of colors and shapes. Some transparent, some opaque. After every layer is completely dry, another layer can be applied. This is the beauty of acrylic paint. It all adheres. When I’m done adding layers, I apply a heavy final layer of acrylic and immediately cover it with the paper. On this image I’ve used carbon black because it makes a nice contrast with the color palate I’ve chosen. The paper needs to be completely dry before I can pull the image. Pulling the image. I’ve used an 18 X 24 inch sheet of sumi rice paper for this image because it adheres well and makes a clean pull off the silicone sheet. This is the final image once I’ve added in some collage elements and more acrylic details.
‘Cross in Yellow’ 24 X 18 inches acrylic on paper 2025